
How to Migrate Your WordPress Site to a New Host Without Downtime
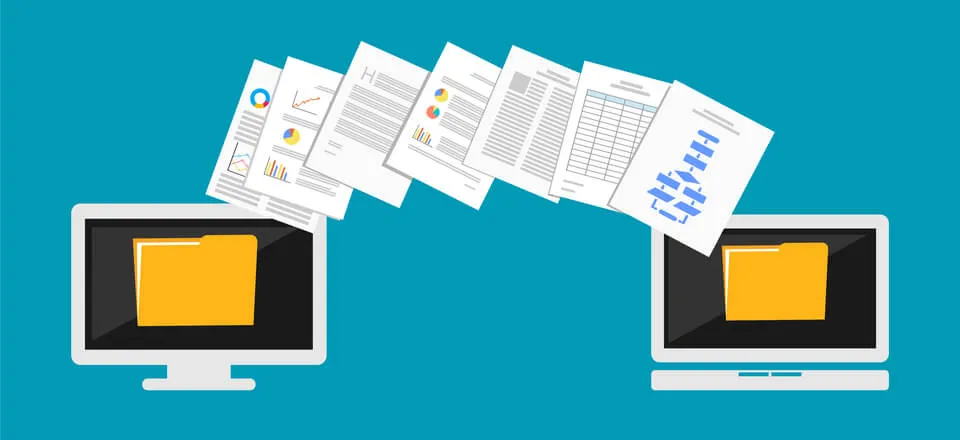
Migrating your WordPress site to a new host can seem daunting, especially with the looming threat of downtime. However, with the right approach, you can execute this transition smoothly and without any interruptions to your site’s availability. In this guide, we’ll walk you through the step-by-step process to ensure your WordPress migration is seamless and efficient.
Why Migrate Your WordPress Site?
Before diving into the migration process, it’s important to understand why you might need to migrate your WordPress site. Common reasons include the need for better performance, enhanced security, more features, or simply cost savings. For instance, if your current host struggles to handle your website traffic, switching to a provider with better infrastructure can significantly improve your site’s performance.
Preparing for the Migration
Preparation is key to a successful migration. Here are the steps you need to take before starting the move:
Choose the Right Host
Your choice of host can impact your site’s speed, security, and support. Research options that offer excellent uptime guarantees and customer support. Some popular choices include SiteGround, Bluehost, and WP Engine.
Backup Your Website
Before making any changes, it’s crucial to back up your entire website. Use plugins like UpdraftPlus or BackupBuddy to create a complete backup of your WordPress files and database.
Conducting the Migration
Once prepared, you can begin the migration process. Follow these steps to ensure a smooth transition:
Export Your WordPress Files
Use an FTP client like FileZilla to download all your WordPress files from your current host. This includes your theme files, plugins, and uploads.
Export Your Database
Access your current hosting account’s control panel and navigate to phpMyAdmin. From there, export your WordPress database by selecting your database and clicking on the ‘Export’ tab.
Set Up Your New Host
With your new host, set up a new database via the control panel. Import your existing database into this new environment using phpMyAdmin.
Testing Your Site
Before updating your DNS settings, it’s wise to test your site on the new server:
Edit Your Hosts File
Edit the hosts file on your computer to point your domain to the new server’s IP address. This allows you to test your site without affecting the live version.
Check for Errors
Thoroughly test your website to ensure everything works correctly. Check for broken links, missing images, and plugin functionalities.
Finalizing the Migration
Once testing is complete, it’s time to finalize the migration:
Update DNS Settings
Log into your domain registrar and update your DNS settings to point to the new host. DNS propagation can take up to 48 hours, but your site should remain accessible during this time if your TTL settings are low.
Monitor Your Site
After the DNS has fully propagated, monitor your site closely to ensure everything functions as expected. Look out for performance issues and address them promptly.
Conclusion
Migrating your WordPress site to a new host without downtime is entirely feasible with the right preparation and execution. By following this guide, you can ensure a smooth transition, preserving your site’s uptime and enhancing its performance on a new server. If you’re ready to take the plunge, start with thorough research on potential hosts and keep a close eye on each step of the migration process.
For more detailed guides and WordPress tips, stay tuned to our blog. Whether you’re a small business owner, freelancer, or developer, we provide the insights you need to optimize your online presence.